Hover over image to zoom in
Brand:
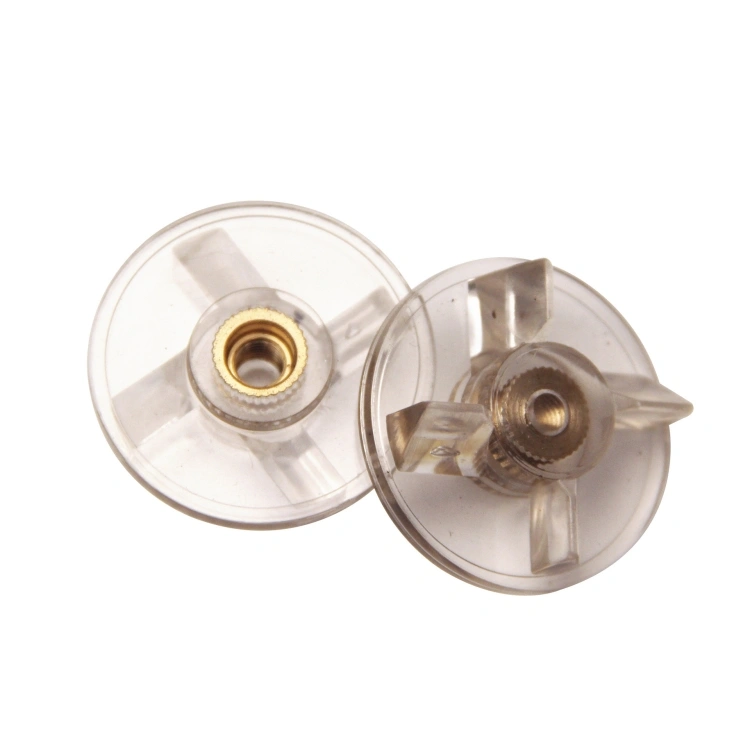
genericFor Magic Bullet 250W Blender Juicer 2pcs Base Gear Blade Gear Replacement Part Non -adhesive Wheel
About this item
This basic gear is specially designed for the Magic Bullet mixer to meet your needs and is your ideal accessory choice
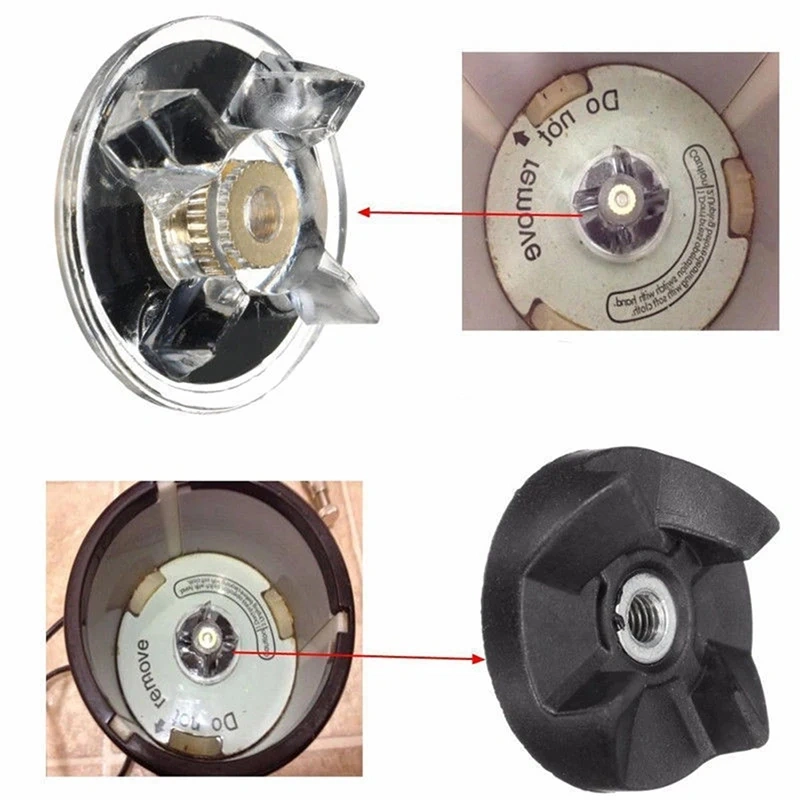
The blender is designed to handle food that is difficult to chop, but after long-term use, the motor in the base gear may wear out, so it will need to be replaced with a new one after long-term use.
Blade gear replacement parts are made of plastic, rubber and metal materials.
Excellent performance, high hardness, and can be used for a long time.
Unit size:
0.36 kg
Number of packs in one carton:
3
Min. Order Quantity:
1 piece
Stock location:
China
Estimated Lead Time (business days)
3 Days
International delivery:
Available shipping options, costs and estimated shipping times will be shown during checkout.
Carton dimensions (LWH):
cm 12 x cm 12 x cm 5
Carton weight:
0.12 kg
Quantity (piece)
Minimum order quantity is 1 piece
Min. Order Quantity:1 piece
Shipping & Returns
Overview
Product description
1. This basic gear is specially designed for the Magic Bullet mixer to meet your needs and is your ideal accessory choice
2. The blender is designed to handle food that is difficult to chop, but after long-term use, the motor in the base gear may wear out, so it will need to be replaced with a new one after long-term use.
3. Blade gear replacement parts are made of plastic, rubber and metal materials.
4. Excellent performance, high hardness, and can be used for a long time.
5. Easy to install: 1. Take a towel and wrap it with your left hand holding the towel blade. 2. Hold the connecting shaft with your right hand, rotate the connecting shaft clockwise and drop it. 3. Tighten counterclockwise when installing